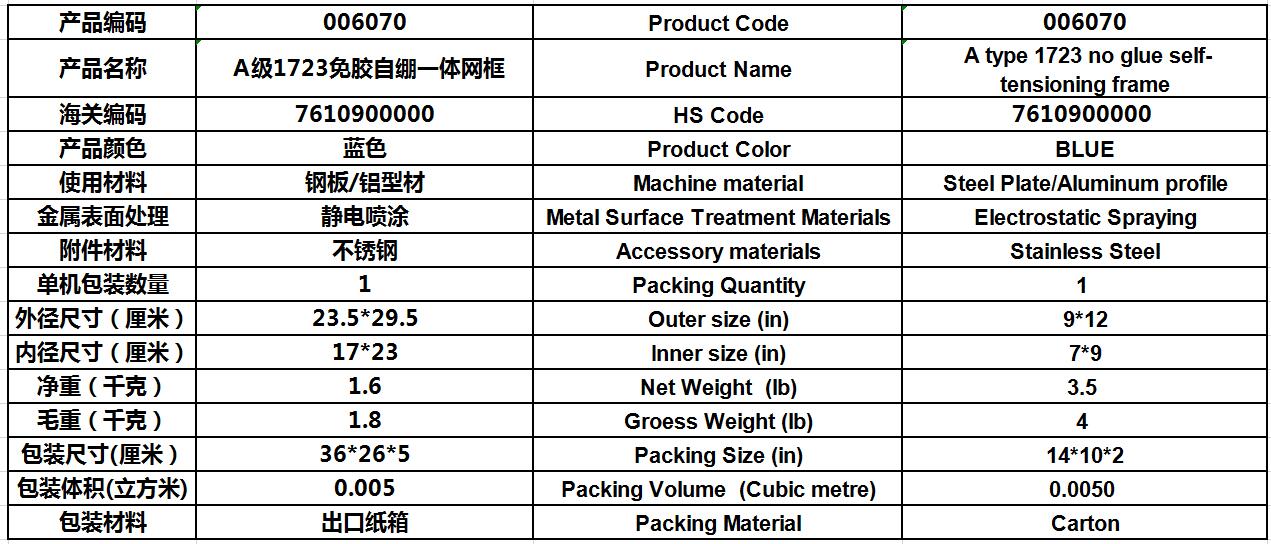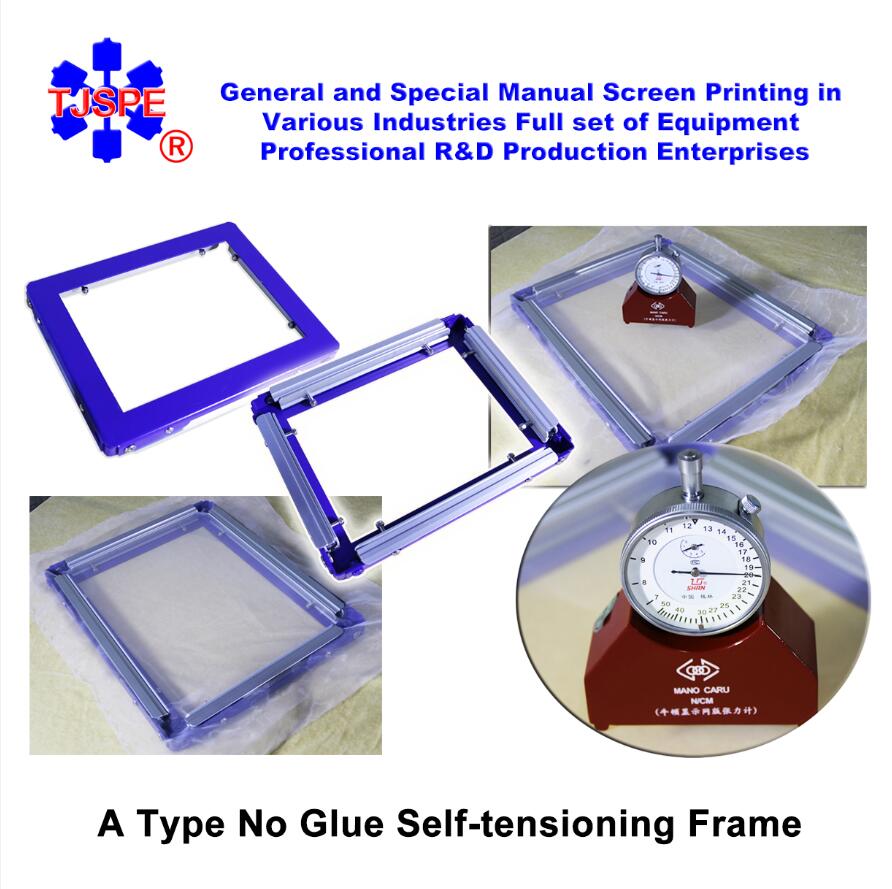
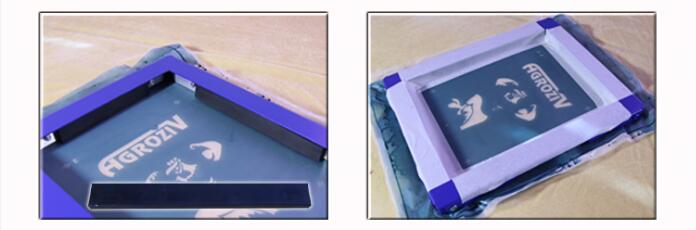
006070 A type 1723 small no glue self-tensioning frame
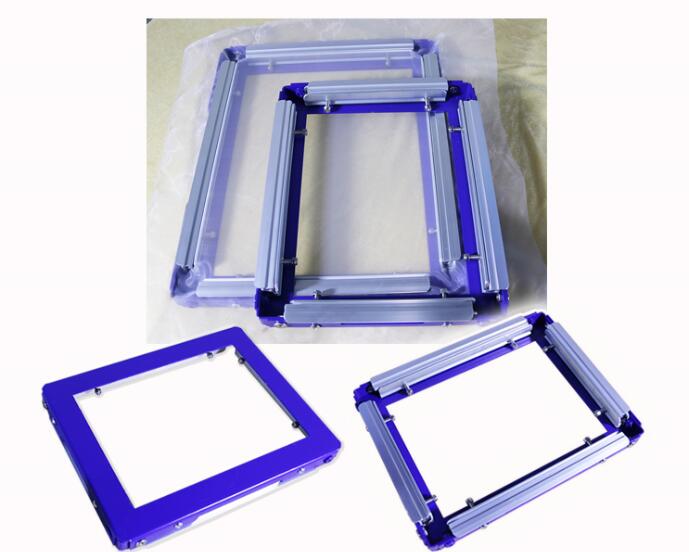
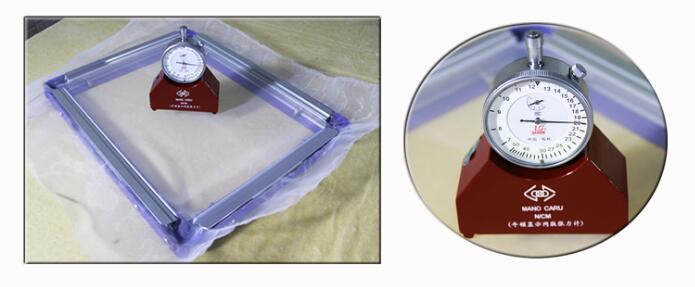
Self-tensioning frame do not need stretcher , and also do not need to brush the mesh glue , it can directly stretch the mesh on this frame, tension up to 16N, stretched frame can be coated photosensitive glue as the same as the traditional frame , exposed and printed .
The biggest characteristics of this frame and ordinary frame:
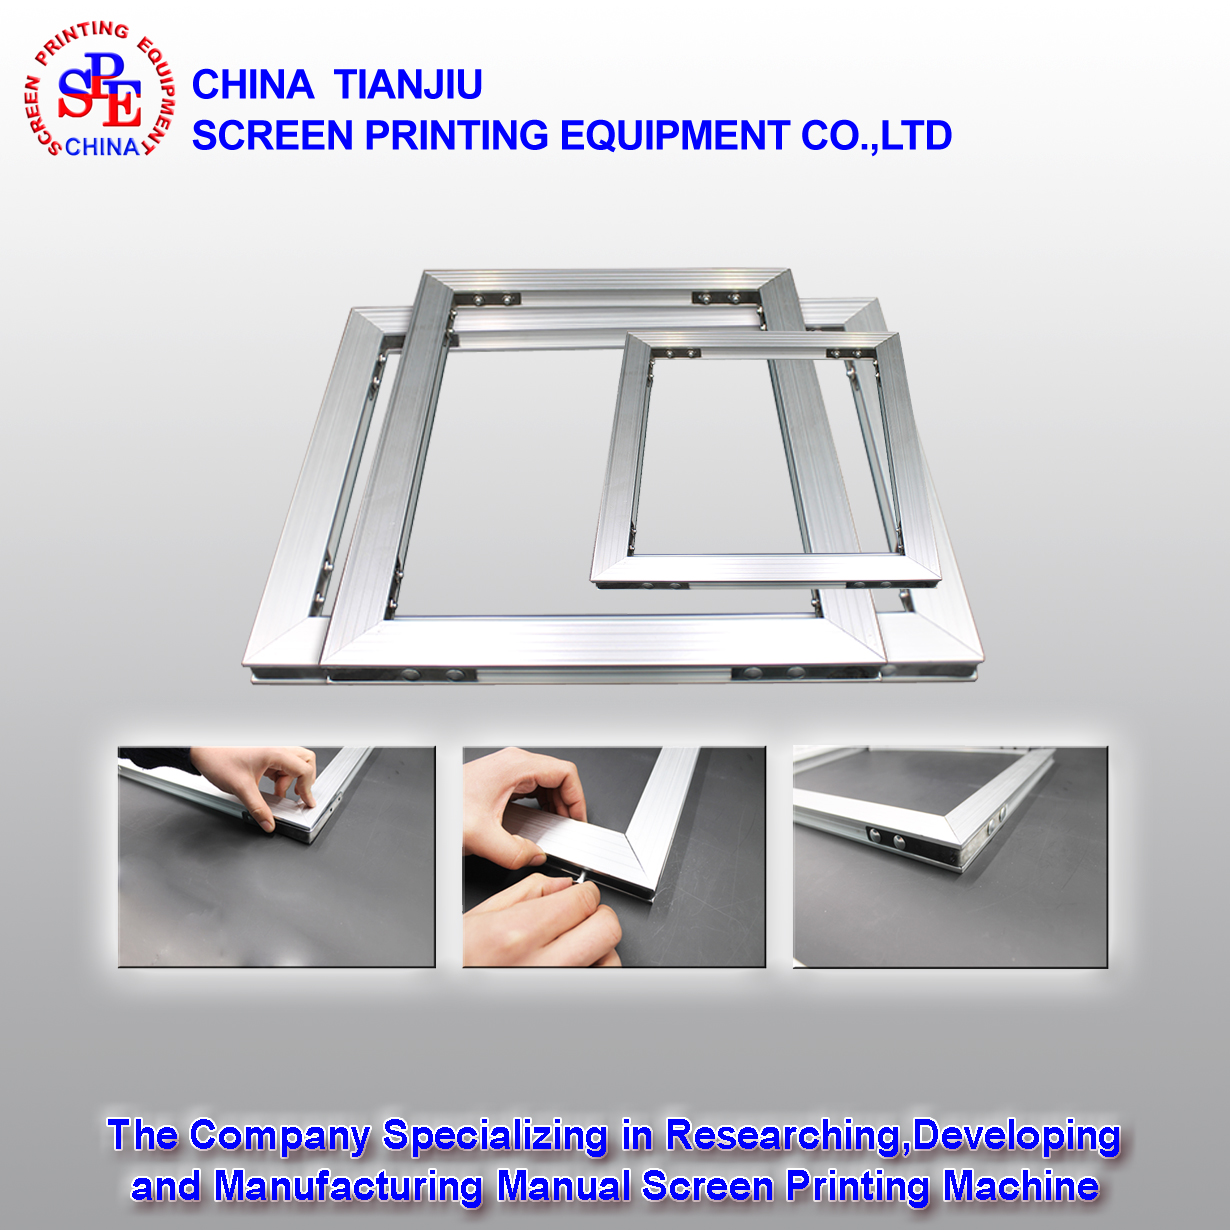
1.The mesh can be disassembled and used repeatedly. After printing, rinse the screen plate clean, remove the mesh from the screen plate and save it. When the pattern needs to be used again, the screen plate can be installed on the screen frame again for use. (note that the four sides of the mesh shall be 3-5 cm larger than the outer size of the frame)
2.There is no plate-making ability need to process the screen plate, user can directly process the mesh,and does not need the screen frame (completely solve the problem of screen plate damaged in the transportation process , packaging cost is high), and then the mesh can be directly installed in the screen frame to print.
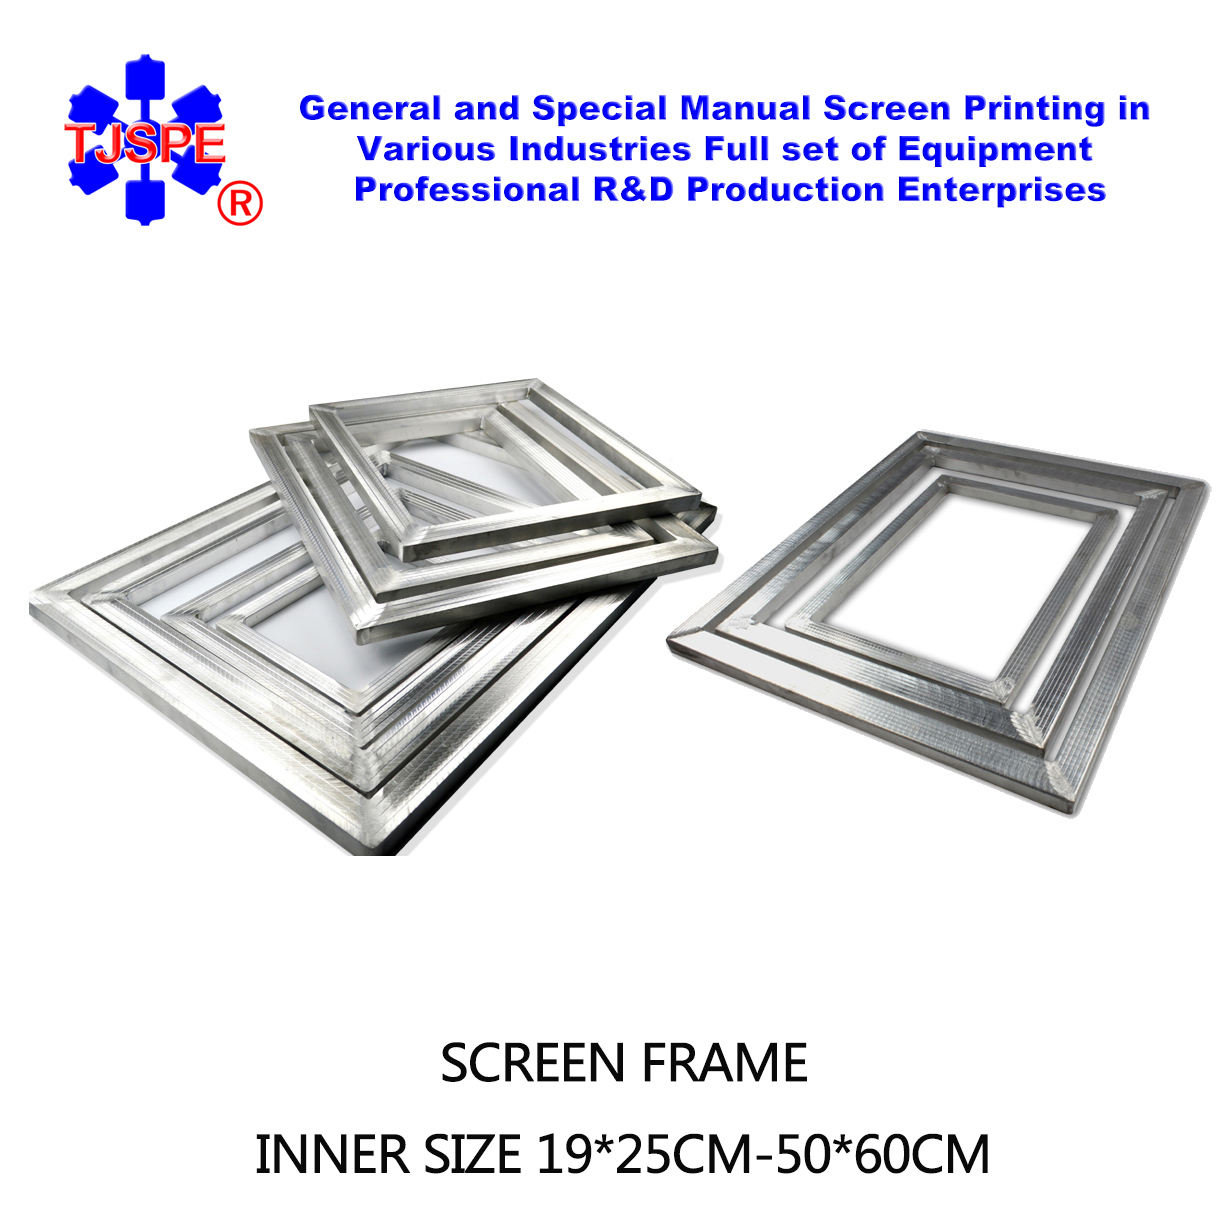
When using A type 1723 frame, the pattern size should be within 130*190mm; The outer dimension of the plate mesh is 260*320 mm;
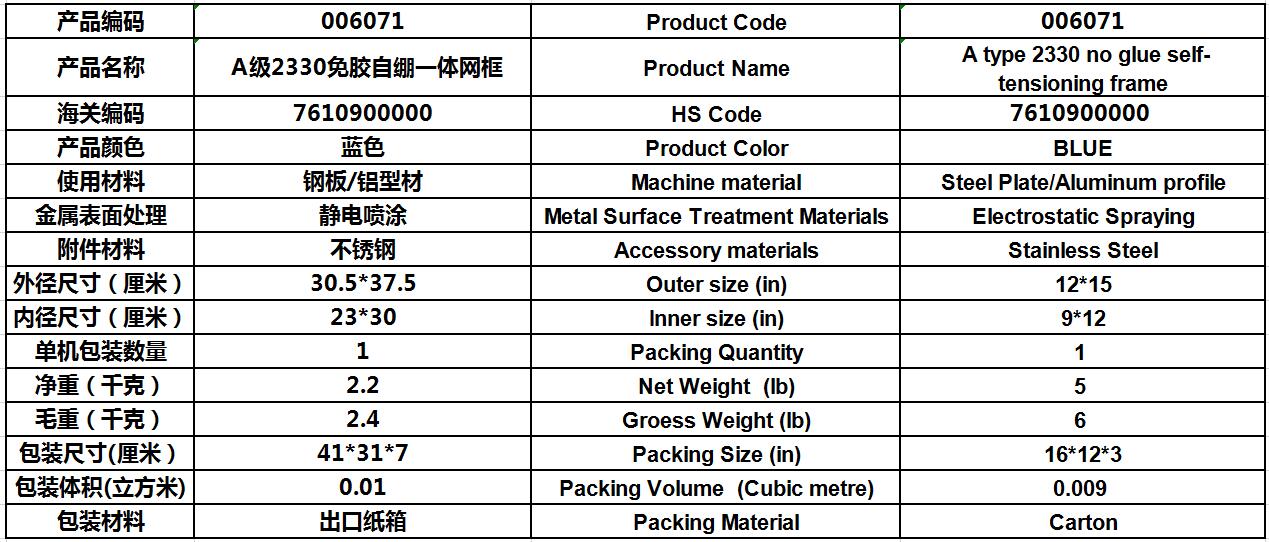
When using A type 2330 frame, the pattern size should be within 190*290; The outer dimension of the plate mesh is 300*400 mm.
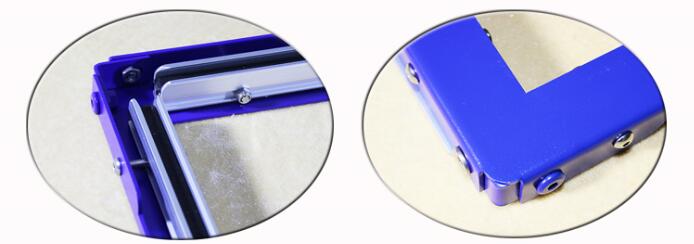
This frame can be used repeatedly, wearing parts are mainly screws, nuts and rubber strips in the buckle slot, the machine is equipped with 6 pieces spare screws and nuts ,1 meter rubber strip ; In order to prevent the screws and nuts from rusting, all the screws in this frame are made of 304 stainless steel.
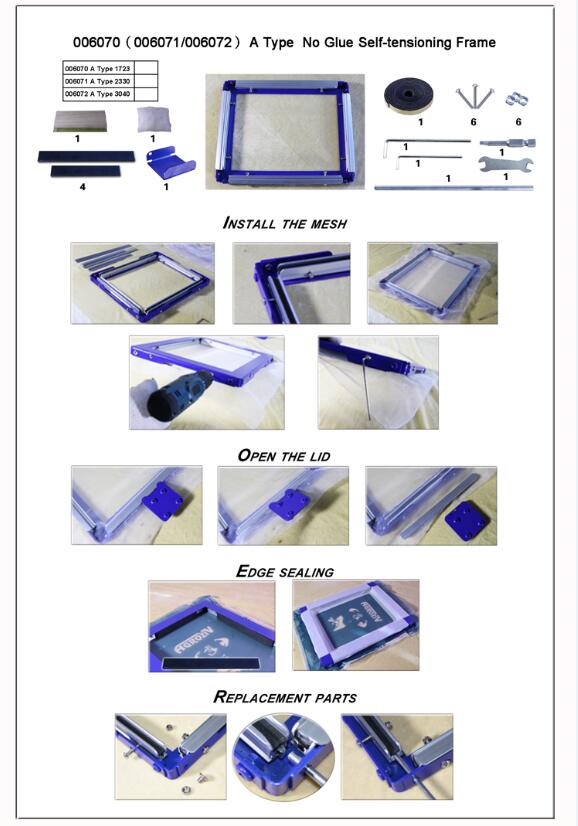
This frame has a complete set of tools
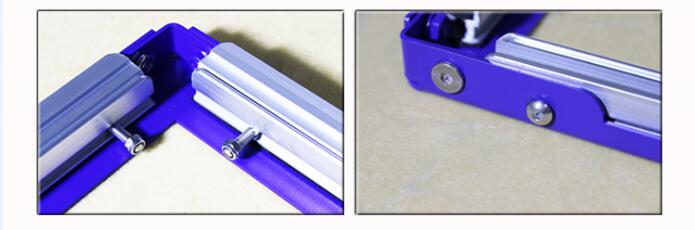
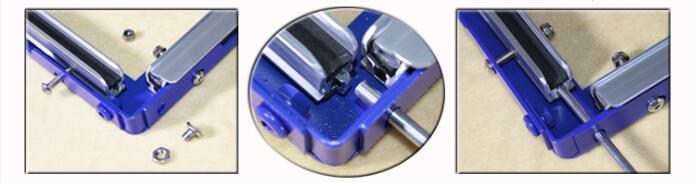
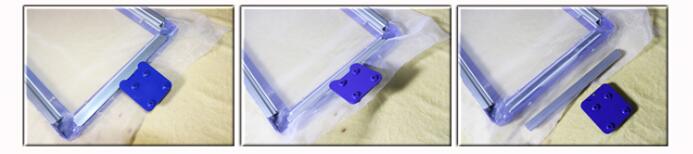
1,Replace the nut aluminum rod
When replacing the nut, unscrew the screw on the frame corresponding to the aluminum slot, push the nut into the aluminum slot, push the nut into the corresponding screw hole with the aluminum rod, screw on the screw, and then screw on the outer frame screw and replace it.
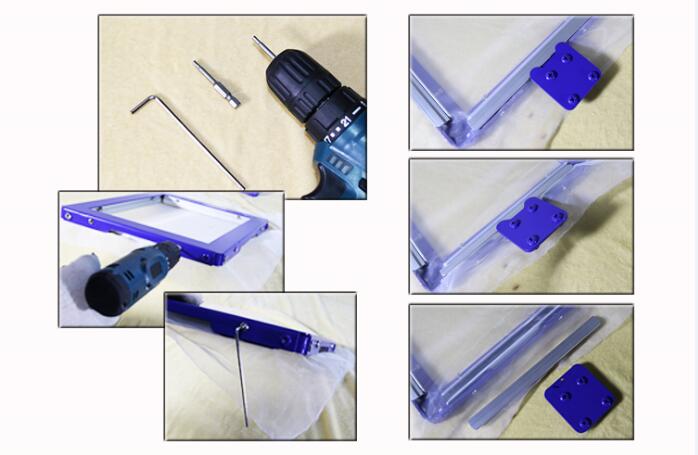
2,A H3 electric screwdriver bit head is used for stretching mesh , which can be installed on hand electric drill.
When using the hand electric drill to tighten the screws, twist 2 or 3 turns of each screw on each side, alternating back and forth to evenly exert force (do not only turn one screw, it will cause twisted wires of two screws on the same side and cannot be used).
3,Tightening the inner hexagon wrench , the hand electric drill to a certain extent, the mesh still fails to reach the required tension. The wrench can be used to continue tightening the screws until the required tension is reached. Similarly, when tightening, the two screws on the same side should be tightened 2-3 times respectively.
4,Open the cover handle, remove the mesh, insert the handle into the horizontal edge of the aluminum alloy batten, lift the handle to open the mesh easily.
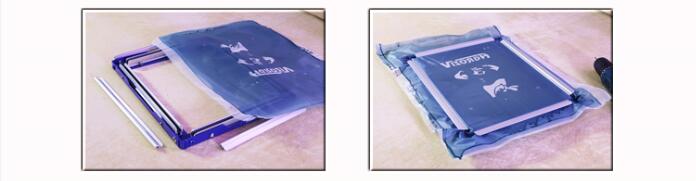
Install the mesh
1,Loosen the four screws and align the inner edge of the aluminum pressure slot with the inner edge of the frame.
2,Use aluminum alloy pressure mesh bar to wire mesh buckle into one side of the aluminum tank,straighten the mesh as far as possible , in the opposite side , wire mesh buckle into the aluminum tank; Then buckle mesh into the other two sides.

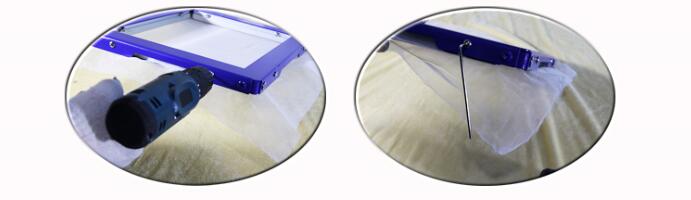
3,First use the hand electric drill to alternately turn the four screws, tighten the mesh .
4,If the tension is not enough, use the reinforced inner hexagon wrench to continue to tighten the tension.
5,Installation of mesh or plate is completed, mesh can be plate-making, plate can be printed.
Special tips: installation of the plate, because the force is not uniform, may cause a slight deformation of the pattern; If you need to correct, you can paste the original film or 1:1 printed copy on the plate, and then align the screen pattern with the original copy by fine-tuning the four-side screw of the screen frame.
take off the mesh:
1,Evenly loosen the four side screws of the mesh frame
2,Using the open cover handle to insert the horizontal edge of the aluminum alloy batten. Lift the handle to open the batten easily.
3,Remove the mesh and save
Each frame is configured:
1.screen frame 1
2.1 aluminum rod (1723-- 28 cm in length -- spare material)
(2330- 35 cm in length - excess material)
3.One H3 hexagon socket batcher
4.One H3 inner hexagon force handle
5. One open cover handle
6. One M4 wrench个
7. 1 meter strip with adhesive
8. M5*30 screws and nuts each 6
9. One squeegee (1723-- 14 cm in length)
(2331- 20 cm in length)
10.One meter 1.27m width 120 mesh